 EmTech Media
macOS · Mac · Security & backups
Set up Time Machine properly
Time Machine is the closest thing macOS has to 'undo' for your whole computer. Twenty minutes now saves a disaster later.
Before you start
Low risk. This change is reversible — you can return to the previous state without professional help or data loss.
What usually goes wrong
- Time Machine erases the disk you give it. Anything already on that drive is gone — start with an empty one, or move its contents off first.
- Size the drive at two to three times your data, not merely larger than it. Time Machine keeps versions, so a disk barely bigger than your Mac fills within weeks and then quietly starts discarding your oldest history.
- One backup drive rebuilds the single point of failure you were trying to remove. Time Machine happily rotates between multiple disks — use two, and keep one elsewhere.
- Backups stop while the drive is unplugged and nothing warns you. If you use a portable disk, glance at the Time Machine menu now and then to check the date of the last successful backup.
Steps
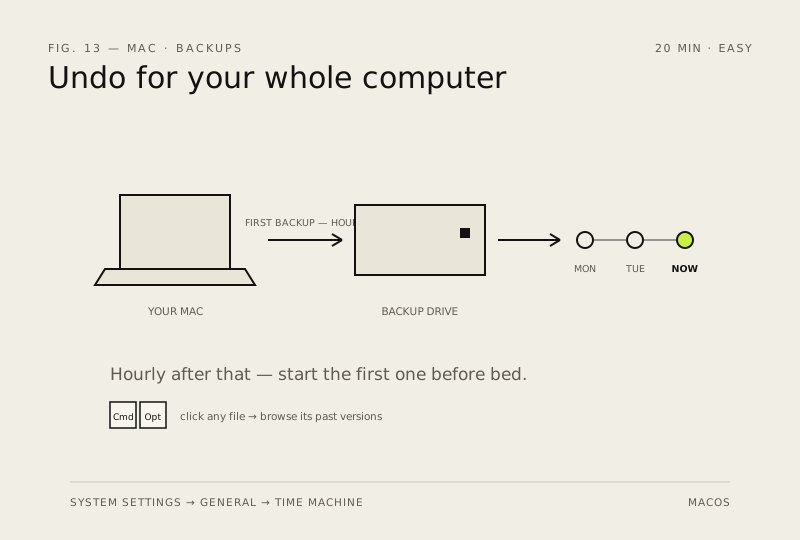
- Connect an external drive (500 GB+ recommended), then System Settings → General → Time Machine → Add Backup Disk
- Pick the drive and let it run the first full backup — it can take hours, so start it before bed
- After that it runs automatically hourly; you get version-by-version history of every file in Finder (Cmd + Option click any file to browse its past versions)
- Test a restore once: open Time Machine → pick an old folder → Restore. A backup you've never restored is a rumour
How to verify the fix
The first full backup completes, hourly backups run automatically, and you've successfully restored one test folder.
If this didn't fix it
A restore attempt fails or the backup never finishes — check the drive's connection/format (APFS) before trusting Time Machine.
Next stop: the related fixes below, or start a guided diagnosis.