 EmTech Media
macOS · Mac · Security & backups
Turn on FileVault full-disk encryption
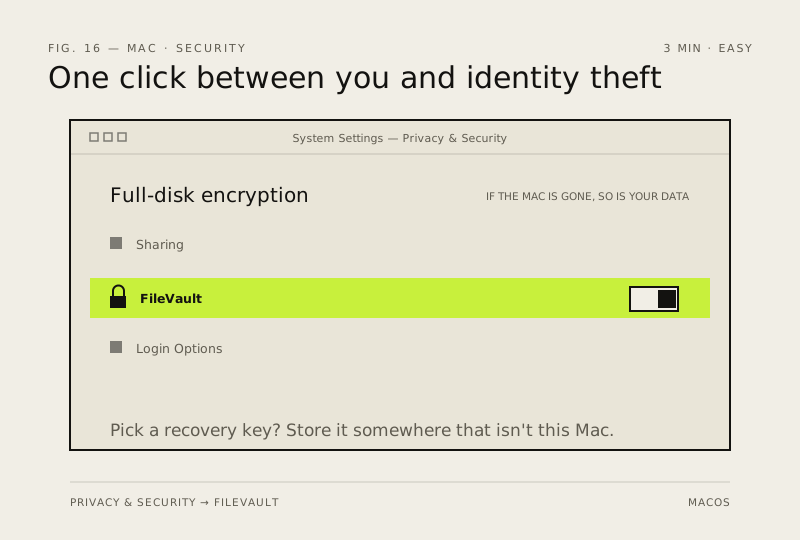
If your Mac is stolen or lost, FileVault is the difference between 'inconvenience' and 'identity theft'. It's one click.
Before you start
Medium risk. This change is reversible — you can return to the previous state without professional help or data loss.
What usually goes wrong
- The iCloud unlock option is only as strong as your Apple account. Turn on two-factor there first, or you've moved the lock rather than added one.
- If you choose the recovery key instead, that key is genuinely the only way back in. Apple cannot reset it for you — store it off the Mac, on paper or in a password manager.
- Keep the Mac plugged in for the first encryption pass. It runs for a few hours in the background, and letting the battery die partway through is asking for trouble.
- Multiple accounts on the Mac? Each user has to be enabled for FileVault individually, or they simply can't unlock the machine after a restart.
Steps
- System Settings → Privacy & Security → FileVault → Turn On FileVault Protection
- Choose whether to let iCloud unlock it (convenient) or keep a recovery key — if you pick the key, store it somewhere that isn't this Mac
- Encryption happens in the background over a few hours; your Mac keeps working normally meanwhile
How to verify the fix
FileVault shows On in Privacy & Security, and your recovery key (or iCloud unlock choice) is stored safely off this Mac.
If this didn't fix it
Encryption stalls or you can't find the recovery key — losing it can lock you out permanently; keep it somewhere safe.
Next stop: the related fixes below, or start a guided diagnosis.