 EmTech Media
Any · Hardware
Upgrade your RAM (and match it)
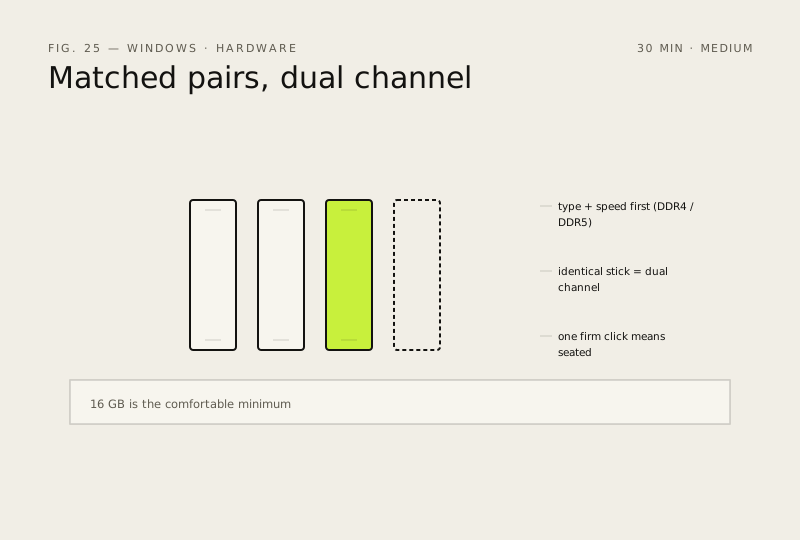
16 GB is the comfortable minimum for modern Windows use. Always buy matched pairs for dual-channel speed.
Before you start
Low risk. This change is reversible — you can return to the previous state without professional help or data loss.
What usually goes wrong
- Two sticks go in the matching-coloured slots — usually the 2nd and 4th counting from the CPU, not the two side by side. The wrong pair of slots gets you single-channel and quietly costs you the speed you just paid for. The motherboard manual has the diagram.
- Fitting the RAM is only half of it. Enable XMP (Intel) or EXPO (AMD) in the BIOS afterwards, or the sticks run at the slow default speed regardless of what's printed on the heatsink.
- Unplug at the wall and hold the power button for ten seconds before you open the case. That drains the residual charge that's still in the board after shutdown.
- Mixing a new stick with your existing one usually works, but both drop to the slower one's timings. A matched kit is tested to run together; two singles are not.
- Won't turn on after fitting? Reseat before you assume the stick is dead. Most 'faulty RAM' is one end that never fully clicked in.
Steps
- Check what you have: open Task Manager → Performance → Memory
- Note the type (DDR4 / DDR5), speed, and how many slots are free
- Buy an identical stick for dual-channel, or a matched 2×16 GB kit
- Power off, unplug, push the side clips and drop the new RAM in; one firm click means it's seated
How to verify the fix
Task Manager → Performance → Memory shows the new total capacity and dual-channel is active.
If this didn't fix it
Capacity hasn't changed after reseating, or the PC won't post — remove the new stick and re-check type/speed compatibility.
Next stop: the related fixes below, or start a guided diagnosis.